
How to create PDF documents from your Zebra BI reports
The most robust and secure way to ensure all users will be able to view the documents that you sent them is to use PDF documents. They will look the same on all operating systems, when printed out and even on mobile devices. They are also read-only by default.
That’s why we made it incredibly simple for you to export your Zebra BI reports from Excel to PDF. You can actually create a comprehensive PDF report with multiple pages in one single action directly from Zebra BI.
Here are the 3 ways to export your charts and tables to PDF using Zebra BI:
1. Exporting the whole workbook
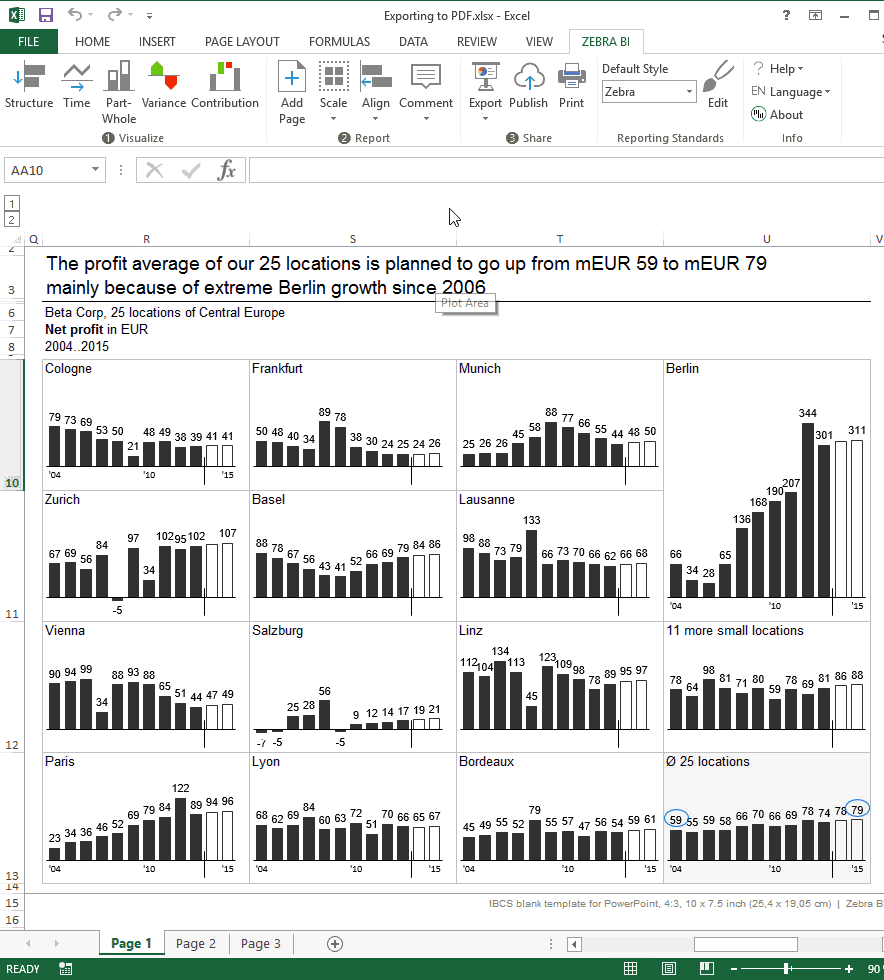
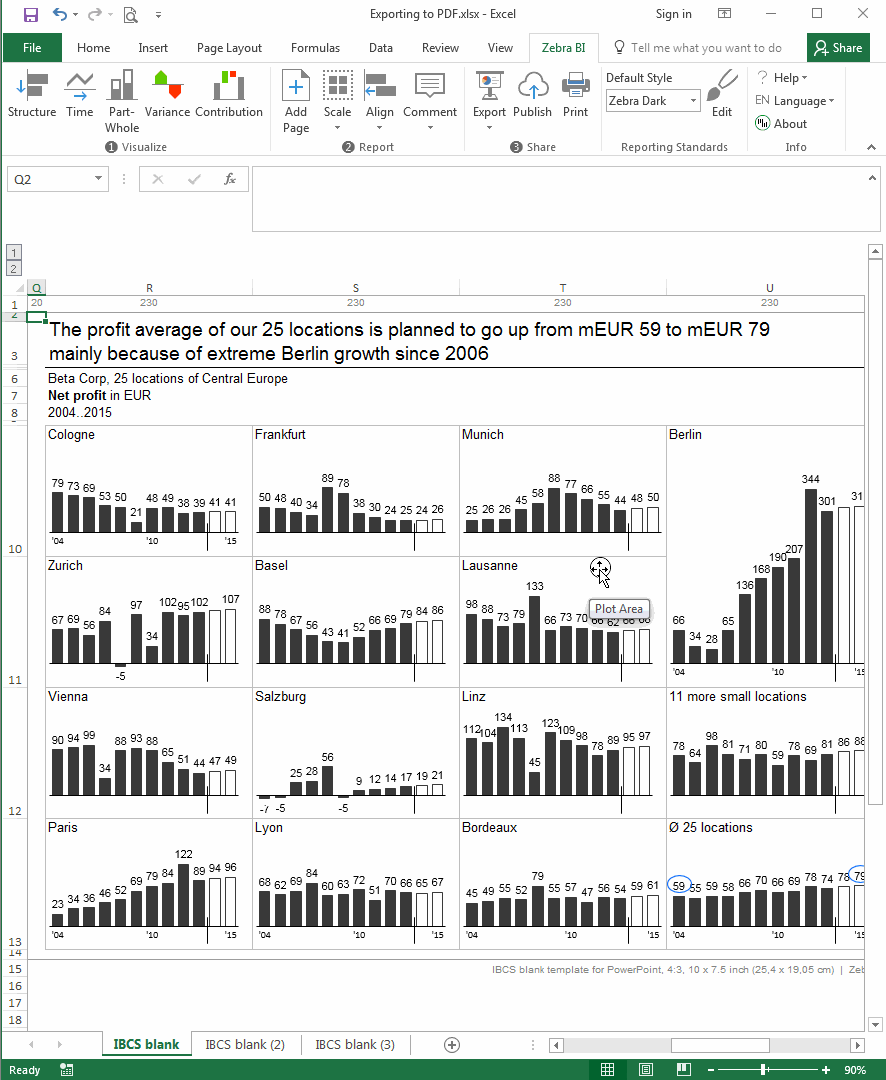
If you prepared all pages of your report or presentation on different worksheets in Excel, the quickest and easiest way to create a PDF from it is to click on the arrow below ‘Export’ in your Zebra BI interface, choose ‘PDF’ on the next step choose “Whole Workbook”.
This will create a new PDF document with content from all worksheets on separate pages.
Tip: make sure you have defined print areas in all worksheets, since that is what gets exported to PDF.
If you don’t have a print area defined, everything with values or objects will get exported (which is usually NOT what you want).
2. Exporting the active worksheet
If you want to export just the current worksheet, select the option “Active Worksheet”.
This will export only the worksheet that you’re currently editing.
Again, keep in mind that this exports the print area of the current worksheet to PDF.
3. Exporting a single chart or a selection
If you want to export a single Zebra BI chart or a selection of cells, select the option “Selection”.
This will export only the cells, charts or objects that are selected at the time you clicked Export>>PDF (the print area is ignored).
Read next: