
How to install Zebra BI
Installing Zebra BI is a quick and simple task, which does not require any IT support.
Before running the setup, please close all open Excel workbooks.
Now run ZebraBI_setup.msi (it is probably in your Downloads folder). The installation wizard will guide you through the setup process:
| Step 1: Welcome screen. | Step 2: End-User License Agreement |
 |
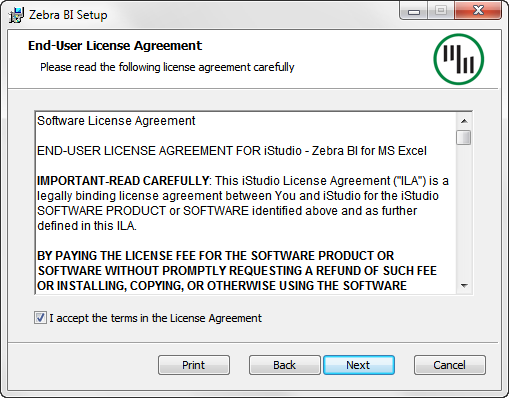 |
| Click Next to proceed with the installation. | Check the box to accept the terms in the License Agreement. Click next. |
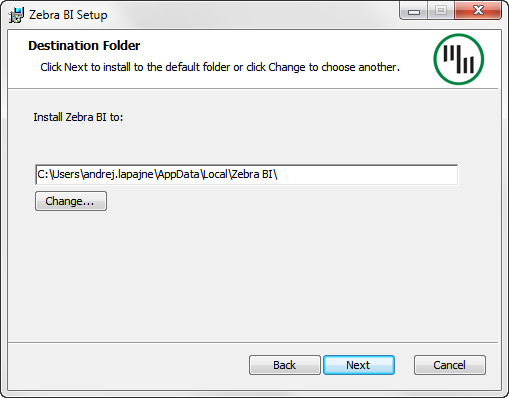
| Step 3: Select folder | Step 4: Install Zebra BI |
 |
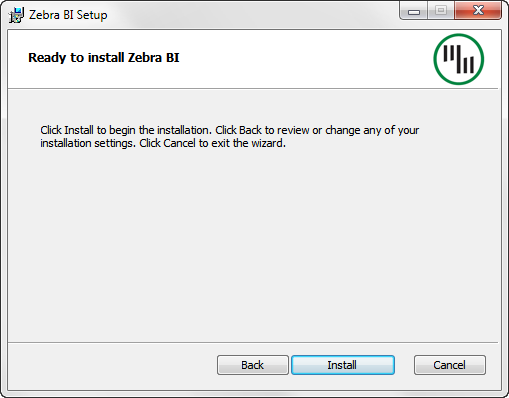 |
| Select the location (folder) where you want to install Zebra BI. To change the suggested location, click on the Change… button. After selecting the location, click Next. | Click the Install button and wait while Zebra BI is being installed on your computer. |
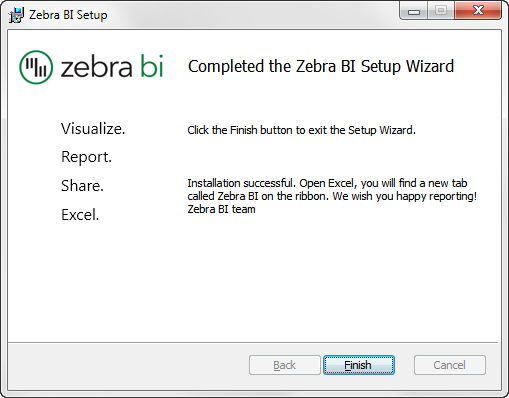
| Step 5: Finish | |
 |
|
| Zebra BI is installed, click on the Finish button to exit the setup wizard. |
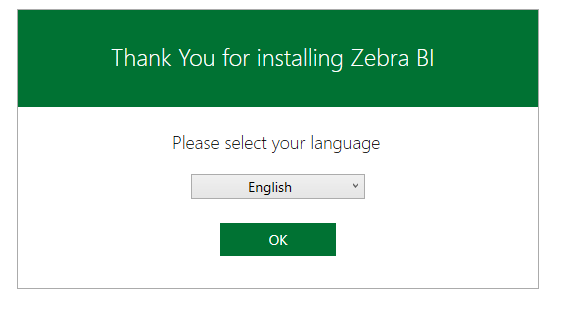
If this is the first time you installed Zebra BI there are two additional steps after you click finish. First, a window will open where you can choose the language Zebra BI will use. After that another window will open where you can either start a Free Trial or Activate Zebra BI if you already have a license key.
| Step 1: Choose language. | Step 2: Start Free Trial or Activate |
 |
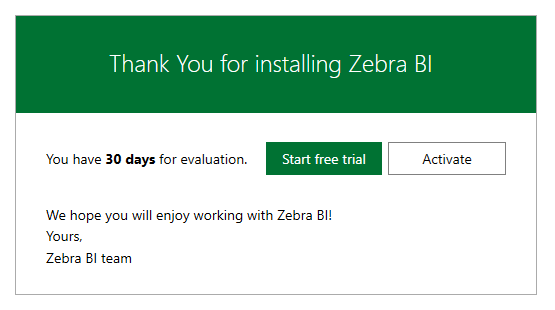 |
| Select the language you wish to use and click OK. | Either start a Free Trial or Activate Zebra BI. |
Great, now you start creating business reports and presentations with Zebra BI :). You will find a new tab called Zebra BI on your Excel ribbon. Here’s how it looks in Excel 2013 and Excel 2010:

Zebra BI ribbon in Excel 2013

Zebra BI ribbon in Excel 2010
What’s next?
Having Trouble?